Tutorial on How to Make a Flat Brimmed Paper Hat (New Era Style)
 THINGS YOU WILL NEED:
– (Optional) Go to this link to get the template for the hat piece shapes and PRINT 2 OF THEM: http://tinypic.com/view.php?pic=20aff3p&s=5
– 1 or 2 extra pieces of regular printer paper
– Pencil
– Colored penicils (optional)
– Glue
– Tape
– Scissors
– Thin pieces of cardboard
– PATIENCE!!!!!!!!!!
If you have any questions, PLEASE message me and I will answer them!!!
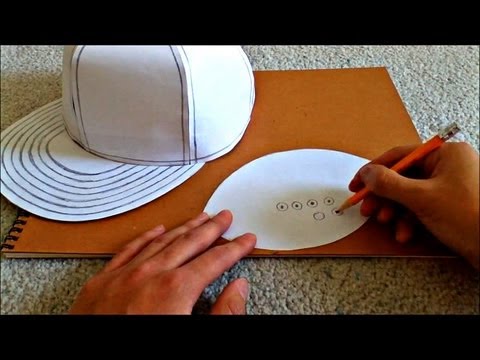
The height of the hat should be about 4.25 inches tall, and the lengh around the hat should be about 25.25 inches around (this does NOT include the lenglth around the bill).
Of course you can change the sizes depending on the size of your head, but do not change them too much, only make it on 1/8 smaller or bigger depending on what will fit you.
Also, you can leave a video response of the hat you made from this tutorial, I would really like to see them!!
If you are nterested, I am selling my paper model of the White DC New Era Hat on Etsy.
Here is a link to it:
http://www.etsy.com/listing/90325848/paper-model-of-a-white-dc-new-era-hat
Duration : 0:10:59
 Adding automatic Satin Stitch outlines to Digitized Fonts, including vectorization of multiple segments prior to applying auto outline (ART-D65 v9.xx).
 Textile DVD – see more at http://tinyurl.com/bw4eq3m
 http://www.sewhere.com
 Textile DVD – see more at http://tinyurl.com/bw4eq3m
 DVD Title: Creative Machine Embroidery with Alison Holt
 How to finish digitizing your embroidery designs to make digital embroidery machine designs in this free sewing video taught by an expert seamstress.
 Embroidery software educator Soni Grint shows highlights of the packages contained in 4D Professional. She shows a jacket embellished with Shapes, a table runner created with Encore and lettering font samples including QuickFonts created from computer TrueType fonts, all in 4D Embroidery Extra. Another jacket demonstrates editing features from 4D Stitch Editor, as do morphing samples. A sampler, designs and text were created in 4D Cross Stitcher.
 In this instructional video, we show you how to use the BERNINA Embroidery Software Version 6 to modify an existing embroidery design in a number of ways with the ‘Morphing Effect’ function. Eight different morphing options are available for your use at the click of a mouse: Pinch, Ripple, Skew Horizontal, Wave Horizontal, Punch, Twirl, Skew Vertical and Wave Vertical. Using these morphing effects allows to modify designs as desired. In our example we’ve changed a butterfly design using the morphing effects “punch” and “twirl factor”. For more information about BERNINA Embroidery Software Version 6 check out the other parts of the online tutorial or visit us at http://www.bernina.com
Recent Comments